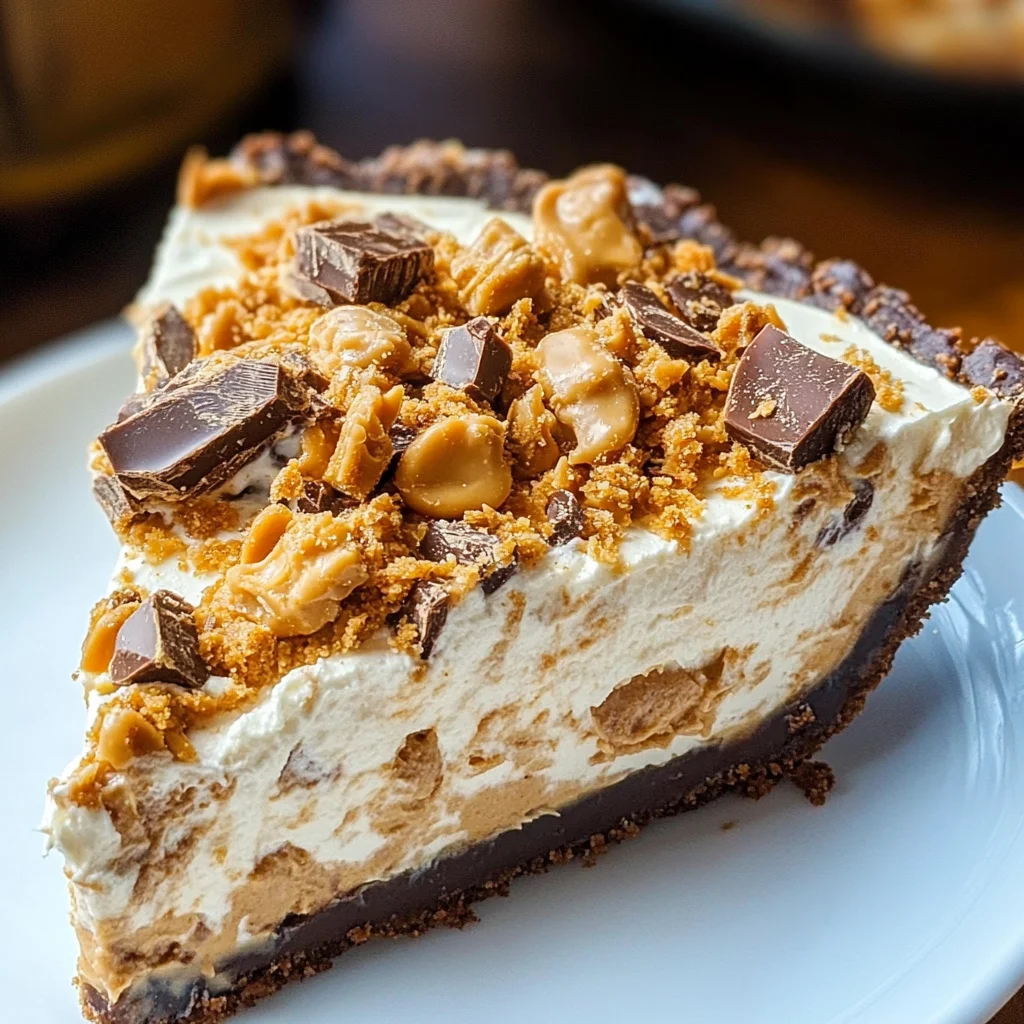
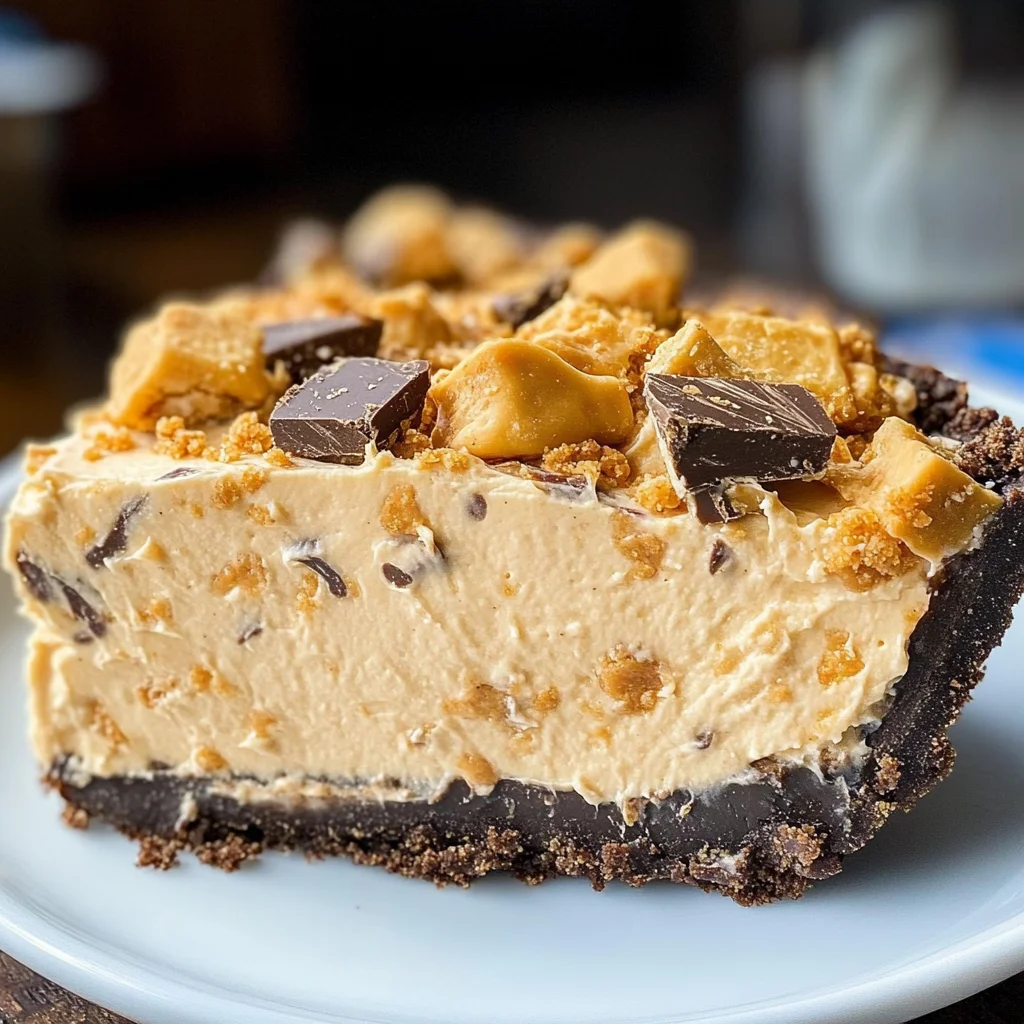
Butterfinger Pie
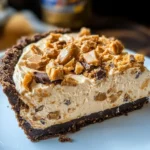
This cool and creamy Butterfinger Pie is the stuff dreams are made of. It’s a delightful no-bake dessert that’s perfect for any occasion, from family gatherings to potlucks. With its rich peanut butter flavor and crunchy Butterfinger bits, this pie is sure to impress. Easy to prepare and requiring minimal time, it’s a sweet treat that everyone will love!
Why You’ll Love This Recipe
- No-Bake Convenience: This dessert requires no baking, making it incredibly easy to whip up in a short time.
- Delicious Flavor: The combination of cream cheese and peanut butter creates a rich and creamy filling that pairs perfectly with the crunch of Butterfingers.
- Versatile Dessert: Ideal for various occasions—from casual family dinners to festive potlucks, this pie fits right in.
- Kid-Friendly Fun: Kids will love helping crush the Butterfingers and mixing the ingredients, making it a fun activity for the whole family.
- Quick Preparation: In just 15 minutes, you can have this decadent dessert ready for chilling.
Tools and Preparation
Preparing your Butterfinger Pie is simple with the right tools. Gathering everything you need before starting will make the process smooth.
Essential Tools and Equipment
- Electric mixer
- Mixing bowl
- Rubber spatula
- Measuring cups and spoons
- Pie dish
Importance of Each Tool
- Electric mixer: Saves time and effort when mixing cream cheese, peanut butter, and powdered sugar to achieve a smooth texture.
- Mixing bowl: Provides ample space for combining all ingredients without spilling.
- Rubber spatula: Perfect for folding in delicate ingredients like Cool Whip without deflating them.
Ingredients
To make your delicious Butterfinger Pie, gather these ingredients:
For the Filling
- 1 (8-ounce) package cream cheese (room temperature)
- 1/2 cup creamy peanut butter
- 2 teaspoons vanilla extract
- 1 1/2 cups powdered sugar
- 1 (12.5-ounce) bag fun-sized Butterfinger bars (crushed; reserve 2 bars to sprinkle on top)
- 1 (8-ounce) container Cool Whip (thawed)
For the Crust
- 1 store-bought Oreo or chocolate graham cracker crust
How to Make Butterfinger Pie
Step 1: Prepare the Filling
- Place cream cheese and peanut butter in a large mixing bowl.
- Add vanilla extract.
- Beat with an electric mixer until smooth.
Step 2: Sweeten It Up
- Gradually beat in powdered sugar until fully incorporated and smooth.
Step 3: Add the Crunch
- Fold in crushed Butterfinger bars gently into the mixture.
Step 4: Incorporate Cool Whip
- Carefully fold in thawed Cool Whip until combined well without deflating.
Step 5: Assemble the Pie
- Spread the filling evenly into your prepared crust.
- Sprinkle reserved crushed Butterfinger bars on top for extra crunch.
Step 6: Chill Before Serving
- Refrigerate at least 4 hours or until set before serving for best results.
Enjoy every bite of your homemade Butterfinger Pie, a delightful treat that’s perfect for sharing!
How to Serve Butterfinger Pie
Serving Butterfinger Pie is all about creating an experience that complements its rich and creamy flavor. Here are some delightful ways to present this no-bake dessert that will impress your guests.
Individual Portions
- Serve in small cups or jars for a fun twist on presentation. Layer the pie filling with crushed Butterfinger bars for added texture.
With Fresh Fruits
- Pair slices of Butterfinger Pie with fresh strawberries or bananas. The fruity freshness balances the pie’s sweetness wonderfully.
Topped with Whipped Cream
- Add a dollop of whipped cream on top of each slice. This extra creaminess enhances the overall decadence of the dessert.
Chocolate Drizzle
- Drizzle melted chocolate over the pie before serving. This adds a touch of elegance and extra flavor that chocolate lovers will adore.
Ice Cream Side
- Serve alongside a scoop of vanilla or chocolate ice cream. The cold ice cream complements the pie’s coolness, making it even more refreshing.
How to Perfect Butterfinger Pie
Perfecting your Butterfinger Pie involves a few simple but effective tips to enhance its flavor and texture.
- Use Room Temperature Ingredients: Ensure your cream cheese is at room temperature for a smoother mixture.
- Don’t Overmix: Mix just until combined to keep the filling light and airy.
- Chill Longer: For best results, refrigerate the pie overnight. This allows flavors to meld beautifully.
- Reserve Enough Toppings: Reserve enough crushed Butterfinger bars for topping to create a visually appealing finish.
- Experiment with Crusts: Try different crusts like graham cracker or pretzel for unique flavor combinations.
Best Side Dishes for Butterfinger Pie
Pairing side dishes with Butterfinger Pie can elevate your dessert experience even further. Here are some great options:
- Fresh Fruit Salad: A mix of seasonal fruits provides a refreshing contrast to the rich pie.
- Chocolate Chip Cookies: Classic cookies add a crunchy texture and additional sweetness.
- Vanilla Ice Cream: Creamy ice cream offers a perfect cooling companion to the richness of the pie.
- Coffee or Espresso: A warm cup enhances flavors, balancing out the sweetness of the dessert.
- Nutty Granola: Sprinkle granola on top for added crunch and nutty flavor that complements the pie.
- Chocolate Dipped Strawberries: These elegant treats add a touch of luxury and pair wonderfully with butterfingers.
- Mini Cheesecakes: Individual cheesecakes can offer another creamy option while staying within similar flavor profiles.
Common Mistakes to Avoid
Avoiding common mistakes can make your Butterfinger Pie turn out perfectly. Here are some pitfalls to steer clear of:
- Bold choice of crust: Using the wrong type of crust can affect flavor and texture. Stick to a chocolate or Oreo crust for the best results.
- Bold cream cheese temperature: Starting with cold cream cheese can lead to lumps in your filling. Make sure it’s at room temperature for a smooth mixture.
- Bold mixing technique: Overmixing the filling can cause it to become too runny. Mix just until ingredients are combined and smooth.
- Bold refrigeration time: Not allowing enough time in the fridge can result in a pie that doesn’t set properly. Plan for at least 4 hours of chilling.
- Bold ingredient freshness: Using stale Butterfinger bars or Cool Whip can impact the taste. Ensure all ingredients are fresh for maximum flavor.
Storage & Reheating Instructions
Refrigerator Storage
- Store your Butterfinger Pie covered in the refrigerator.
- It will stay fresh for up to 5 days.
Freezing Butterfinger Pie
- Wrap slices tightly in plastic wrap or foil before freezing.
- The pie can be frozen for up to 2 months.
Reheating Butterfinger Pie
- Bold thawing: If frozen, transfer to the fridge to thaw overnight before serving.
- Bold serving cold: This pie is best served cold, so no reheating is necessary.
Frequently Asked Questions
Here are some common questions about making Butterfinger Pie:
Can I make Butterfinger Pie ahead of time?
Yes, you can prepare this Butterfinger Pie a day in advance. Just store it covered in the refrigerator until you’re ready to serve.
How do I customize my Butterfinger Pie?
You can add different toppings like crushed nuts, chocolate sauce, or whipped cream for added flavor and texture.
Is there a way to make this pie dairy-free?
You can substitute dairy ingredients with non-dairy alternatives such as vegan cream cheese and whipped topping.
What is the best way to crush Butterfingers?
The easiest way is to place them in a sealed plastic bag and use a rolling pin or mallet to crush them into small pieces.
Final Thoughts
This Butterfinger Pie is an easy no-bake dessert that delights with its creamy texture and rich flavors. It’s perfect for any gathering or simply as a treat at home. Feel free to customize it by adding your favorite toppings or using different types of candy for variety!
Butterfinger Pie
Indulge in the ultimate dessert experience with this Butterfinger Pie, a creamy no-bake delight that’s perfect for any gathering. Combining the rich flavors of peanut butter and cream cheese, this pie is elevated by the crunch of crushed Butterfinger bars. It’s incredibly simple to prepare, requiring only 15 minutes of hands-on time before it chills to perfection. Whether you’re hosting a family dinner or attending a potluck, this dessert is sure to impress guests of all ages. With its easy preparation and delightful taste, you might just find yourself making it a regular feature at your celebrations!
- Prep Time: 15 minutes
- Cook Time: None
- Total Time: 0 hours
- Yield: Serves approximately 8 people 1x
- Category: Dessert
- Method: No-Bake
- Cuisine: American
Ingredients
- 8 ounces cream cheese (room temperature)
- 1/2 cup creamy peanut butter
- 2 teaspoons vanilla extract
- 1 1/2 cups powdered sugar
- 12.5 ounces fun-sized Butterfinger bars (crushed; reserve 2 for topping)
- 8 ounces Cool Whip (thawed)
- 1 store-bought chocolate graham cracker crust
Instructions
- In a large mixing bowl, combine cream cheese and peanut butter. Beat until smooth.
- Gradually mix in powdered sugar until fully incorporated.
- Gently fold in crushed Butterfinger bars.
- Carefully add the Cool Whip and mix until well combined.
- Spread the filling evenly into the prepared crust and sprinkle with reserved Butterfinger bits.
- Refrigerate for at least 4 hours or until set before serving.
Nutrition
- Serving Size: 1 slice (approximately 100g)
- Calories: 380
- Sugar: 30g
- Sodium: 150mg
- Fat: 22g
- Saturated Fat: 10g
- Unsaturated Fat: 10g
- Trans Fat: 0g
- Carbohydrates: 39g
- Fiber: 1g
- Protein: 6g
- Cholesterol: 30mg